We’ve done this four times already; here’s the fifth. For the first, second, third, and fourth, please click on the links.
The rules stay nearly the same: Leave a comment with your prediction of Little One’s birth date, time, size, weight, and gender, and whoever gets closest on average to the truth wins a sweet prize.
If you get the gender right, you receive 0 points; if you get it wrong, or don’t state it, -5 points.
For every day you are off, -0.5 points (used to be -1 point). Not stating day or time scores -5 points.
For every centimeter you are off, -1 point. Not stating anything scores -5 points.
For every 200 grams you are off, -1 point. Not stating anything scores -5 points.
The person with the highest total wins.
Entering after Little One’s arrival voids the entry.
The following might influence your picks: The due date is October 28th, 2023. I have no photographic evidence of Janet’s baby belly, but it’s big. I do have historical data: First baby 6 days early, 51cm, 3590g; second baby four days late, 53cm, 3840g; third baby eight days late, 53cm, 4300g; fourth baby six days late, 51cm, 3650g.
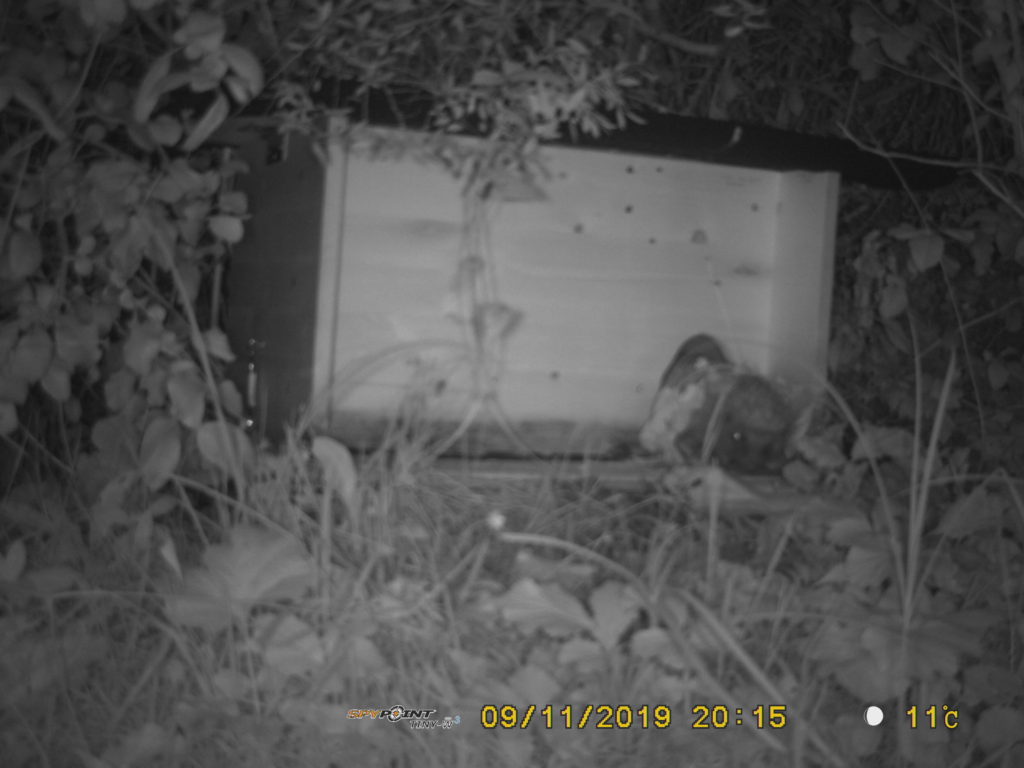
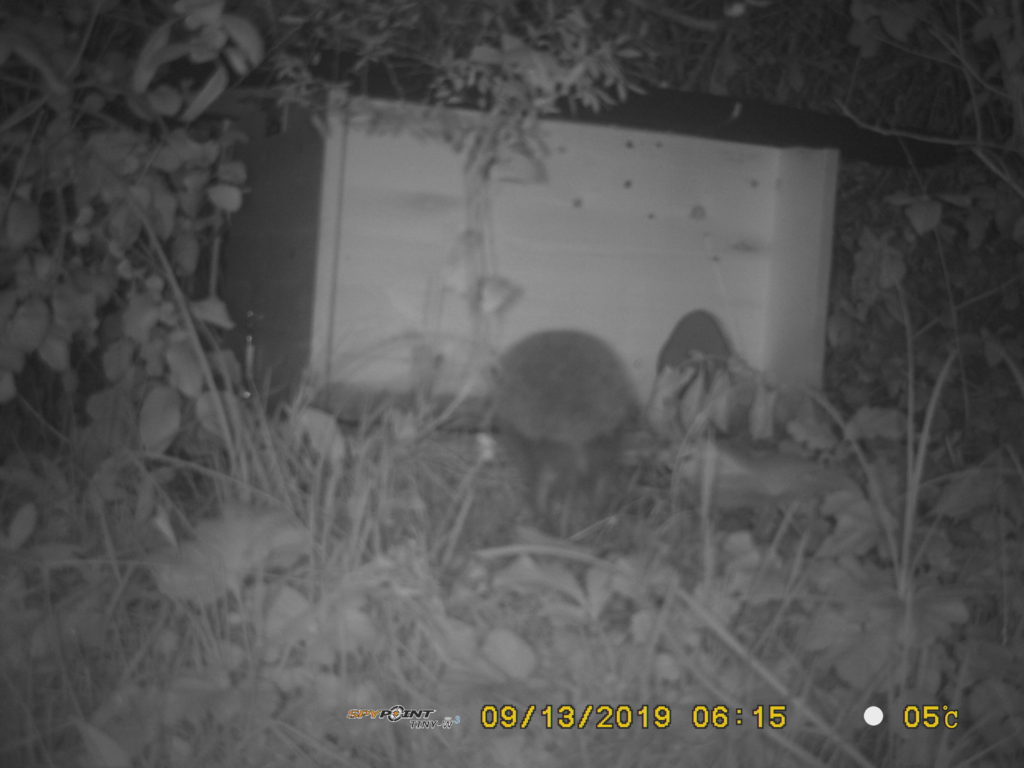
I’ve replaced the timekeeping battery in the trail cam and now the time stamp is accurate on these photos. The first thing I noticed: Mr. Hedgehog is a man of routine. He leaves his pad a little after 8pm and returns a little after 6am.
Leaving Sept 10, 20:07
Returning Sept 11, 06:14
Leaving Sept 11, 20:15
Returning Sept 12, 06:12
Leaving Sept 12, 20:17
Returning Sept 13, 06:15
Also, is it mere coincidence that two mice appear at 04:20 and a cat at 04:40? (Can you find both mice?)
We don’t have a pet: the closest we get is our BeeHome for solitary bees. (If you’re looking into getting one, I’d vote for the classic version, not the Observer we got. While we’ve seen a bee or two cuddle up in the drawer for the night, none has ever laid any eggs in there.) Researching other ways to provide for wild animals that struggle in urban and suburban areas, I came across several options. Bat lodgings seemed neat, but the bats need two meters of free space beneath their dwelling to launch into flight. A sparrow hotel sounds interesting, but I’m still shying away from drilling through our insulation into concrete to hang it up, because I haven’t figured out how to get it down again easily to clean it. Hedgehog houses, on the other hand, avoid a lot of these problems, so that’s what we built.
And here’s how we did it:
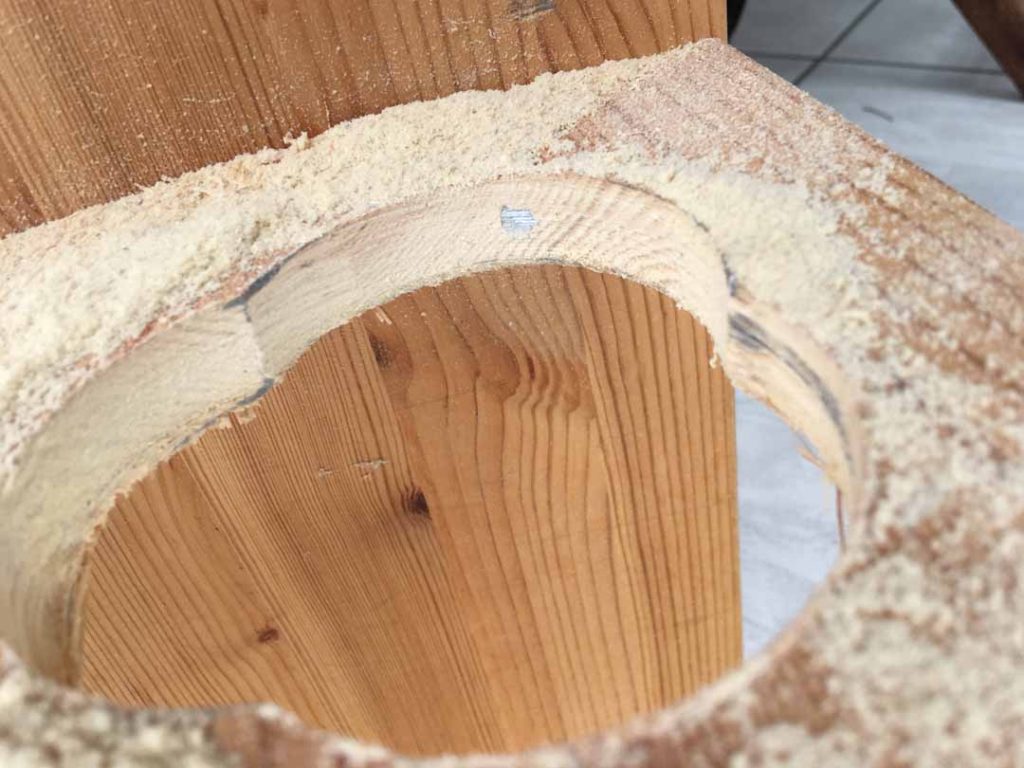
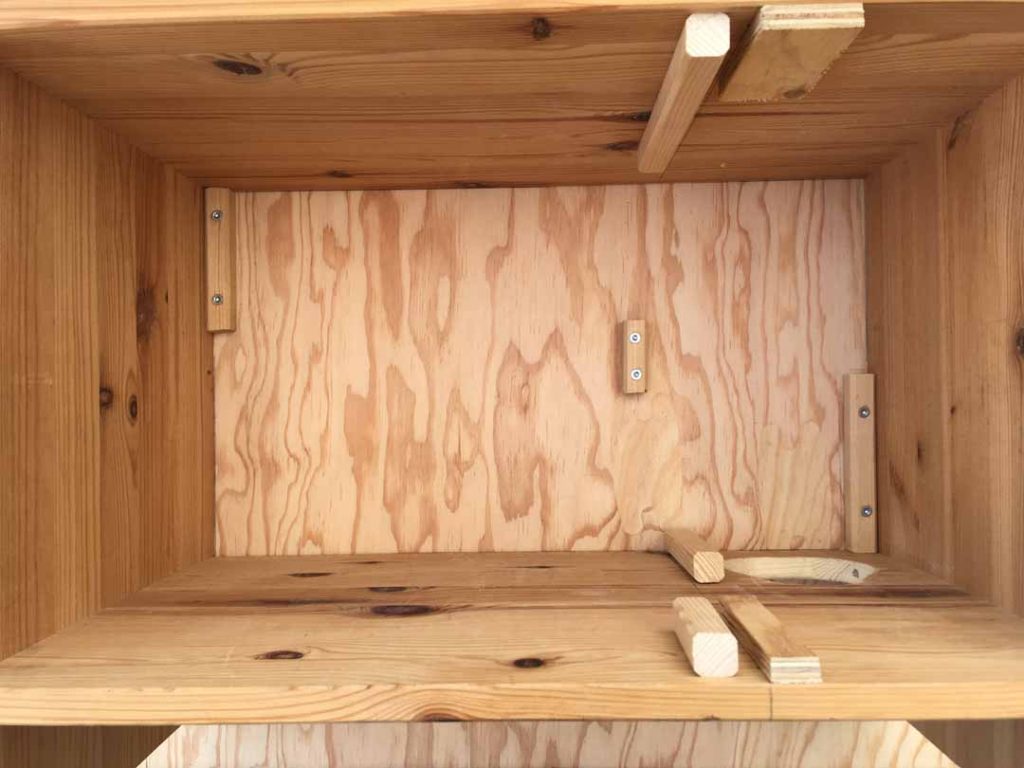
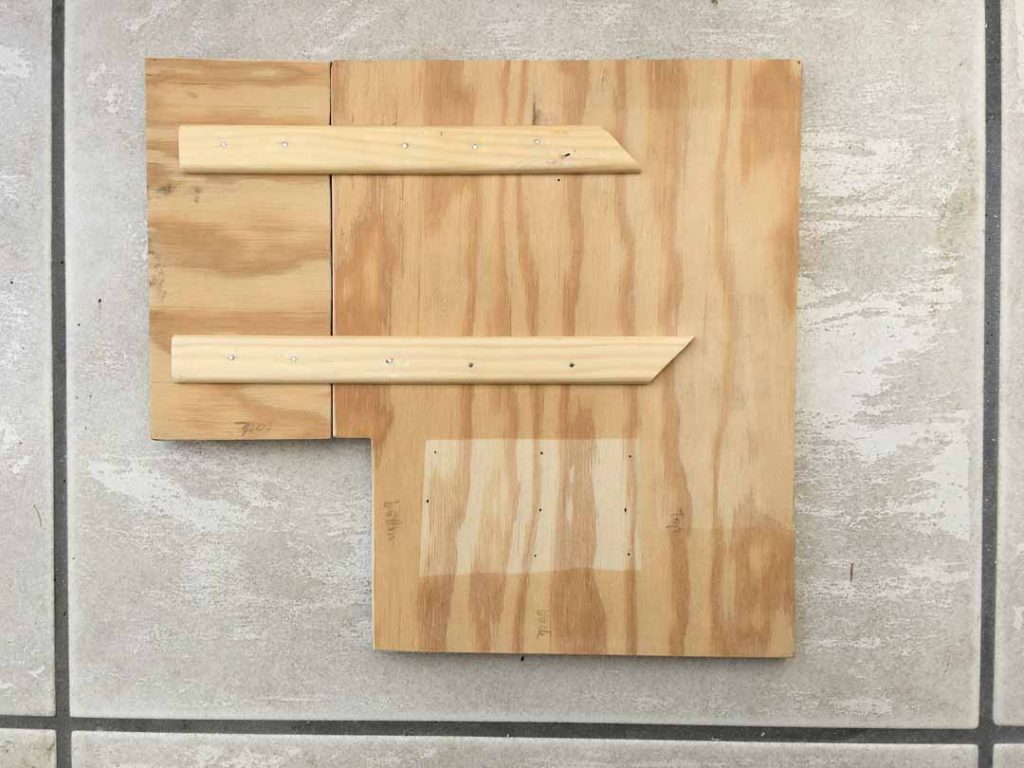
Drill an entryway into an old IKEA coffee table.Try to avoid the screws…Lay the table on its side an define its position on the bottom board.Make a slider out of scrap wood to separate the entryway from the hedgehog’s crib.Slide in the slider.
Next, put the thing in the cellar as you mull over getting shingles for the roof and mull over how on earth to make the shingles work. But finally, one fine summer’s day, a day off thanks to it being our national holiday, pull it back out and work on the roof.
I used a staple gun to affix the shingle to the roof. The nails I had would have been too long. Not also the thin strip of shingle at the base to seal a crack. I stapled the shingle around the front and back edge, but left it to stick out left and right. Notice the storm hooks to hold the hotel together. On the other side, only one storm hook. For easier maintenance access, I installed a hinge to open the roof. Stuff the HogPad with straw—though to be honest I forgot the thick layer of newspaper the instructions said to put in first. Anyway, who still does newspapers?
So with the smaller volume (just under the ideal 30x30x30 cm) and the missing newspaper floor and the slightly smaller entrance, this HedgeHotel isn’t 100% to spec, but it should still pass muster, if indeed a hedgehog comes looking.
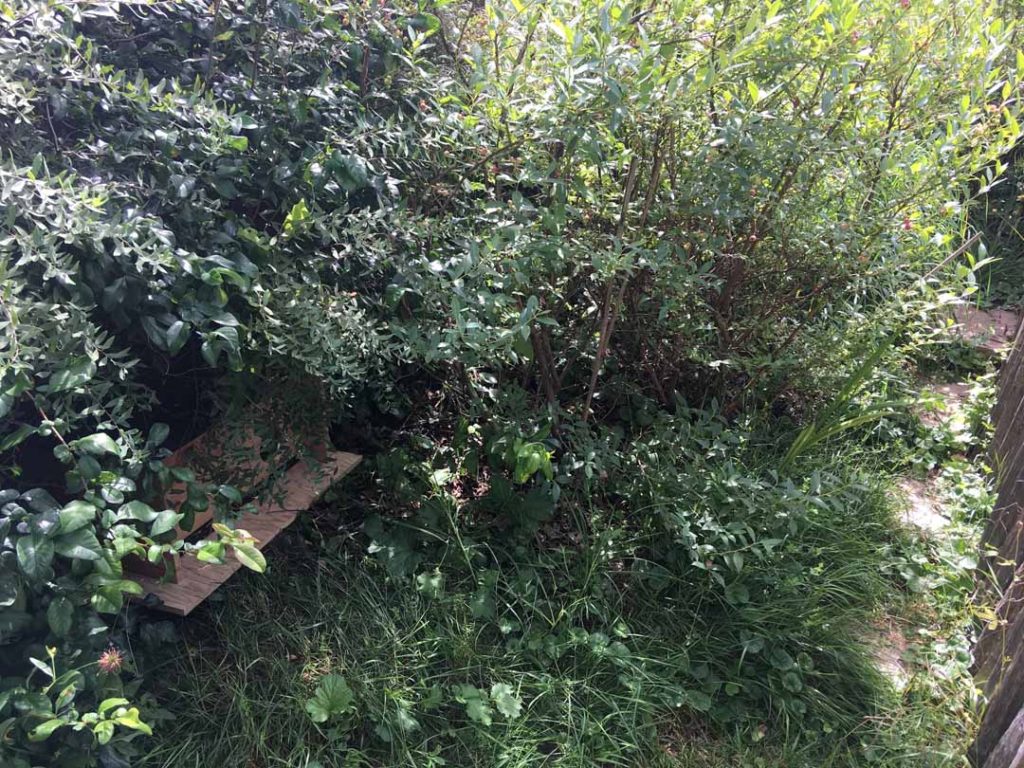
We stuck the hedgehog hotel under our bushes.The lone straw across the entrance is to let us know if a critter has crept inside. So far, no luck. However, we haven’t checked the past few rainy days.
Wish us luck—and a boarder!
Update August 18, 2019: In the meantime, the straw has been moved—twice! We know someone’s gone in there, but was it a hedgehog? Now I’m starting to consider a game camera…
See the blueberry I deposited? (Yes, it is a pink cultivar.)Straw pushed aside again, blueberry gone! (And yes, that’s a slug on the roof… hope the hedgehog ate it later!)
Our yard isn’t ideal for growing. In the morning, the house casts a shadow. On a sunny day, the awning that keeps our sun porch from boiling casts a shadow. The tree casts a shadow in the afternoon. The grill stands in the way of conveniently working on one strip. So if I wanted the kids to enjoy gardening, I needed something accessible and sunny.
Enter the planter box. After plenty of reading and research, I found AlboPepper’s sub-irrigated planter, 30 minutes of clear instructions and a system that was self-contained. (Most others stood on soil, which I didn’t want, given that our lawn is so small the kids can barely play ball on it.)
I planned to modify his plan to include caster wheels to make the box movable on our patio, and the size of my box would be that of the standard European shipping pallet, 80 by 120 cm (32 by 48 inches). Getting the shipping pallet with frame was the easiest part: I got it used for 6 francs. And then it sat in our sun porch for a long time…
Finally, I sat down and did math, calculating the total length of my 10 cm corrugated drainage pipe and the total volume of soil I’d need, as well as the dimensions of the pond liner that would keep the wood from getting wet. I purchased those supplies along with the wheels (picked to support the weight I’d calculated), struts, and screws. It was hard to translate the soil components into German, so I’m still not sure my planter box wicks the moisture up as intended, but 2019 has been rainy, which means the jury’s still out.
And then, I got busy building.
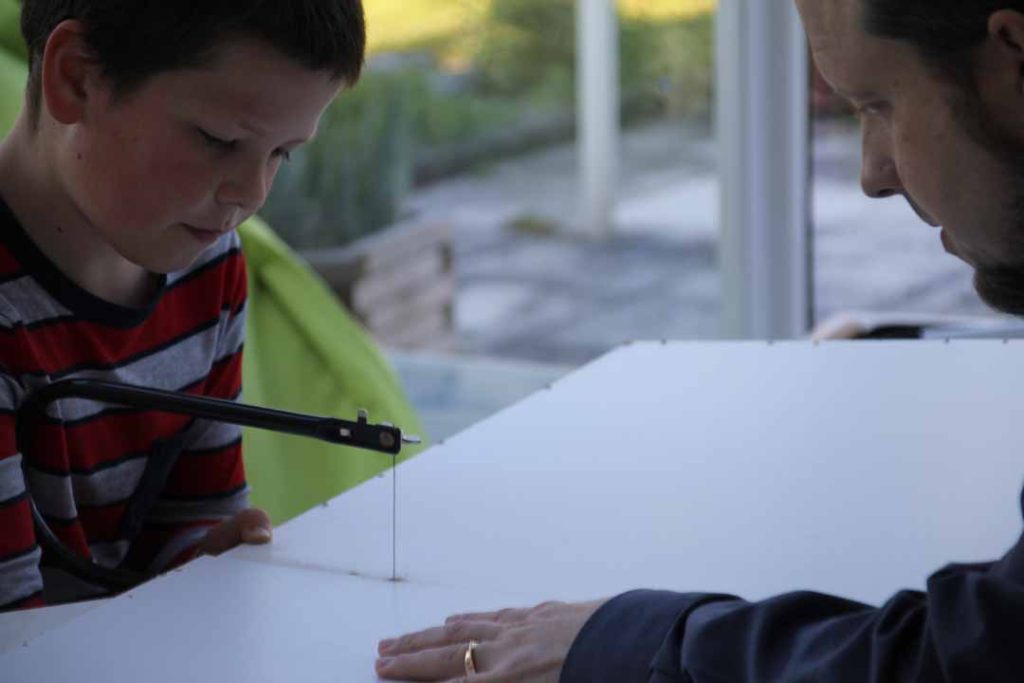
JAS helps me cut a cupboard backing to size
The pallet has holes, so I repurposed cupboard backing I no longer needed (the cupboard had also seen a makeover) to spread the load and keep the pond liner from stretching.
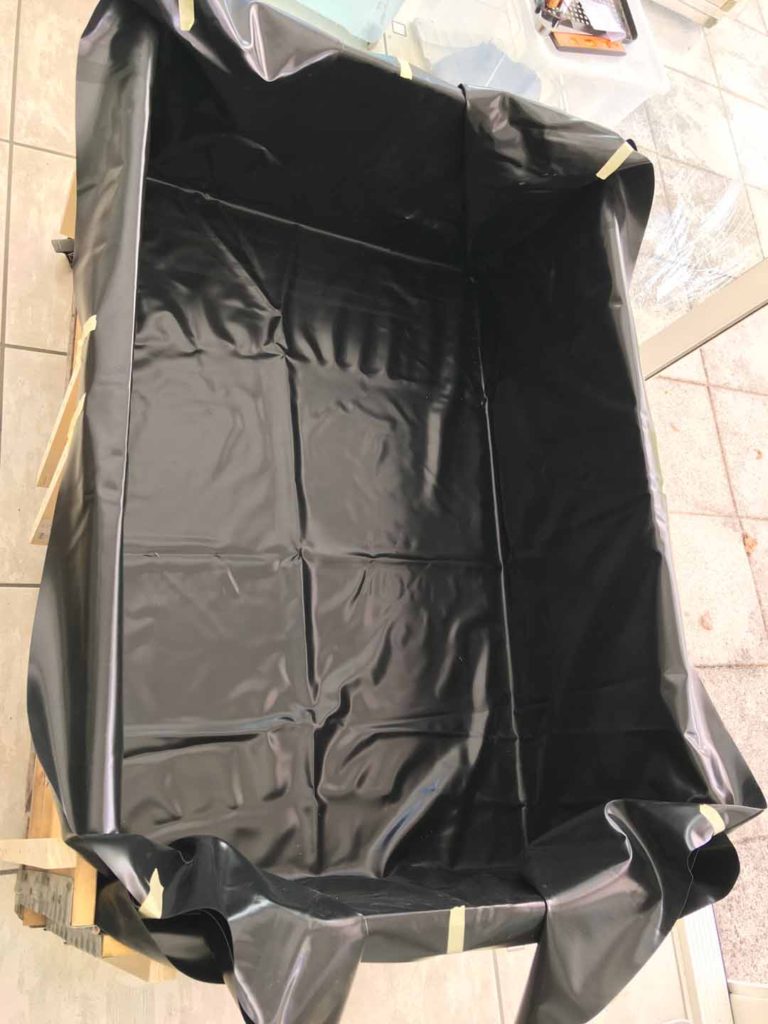
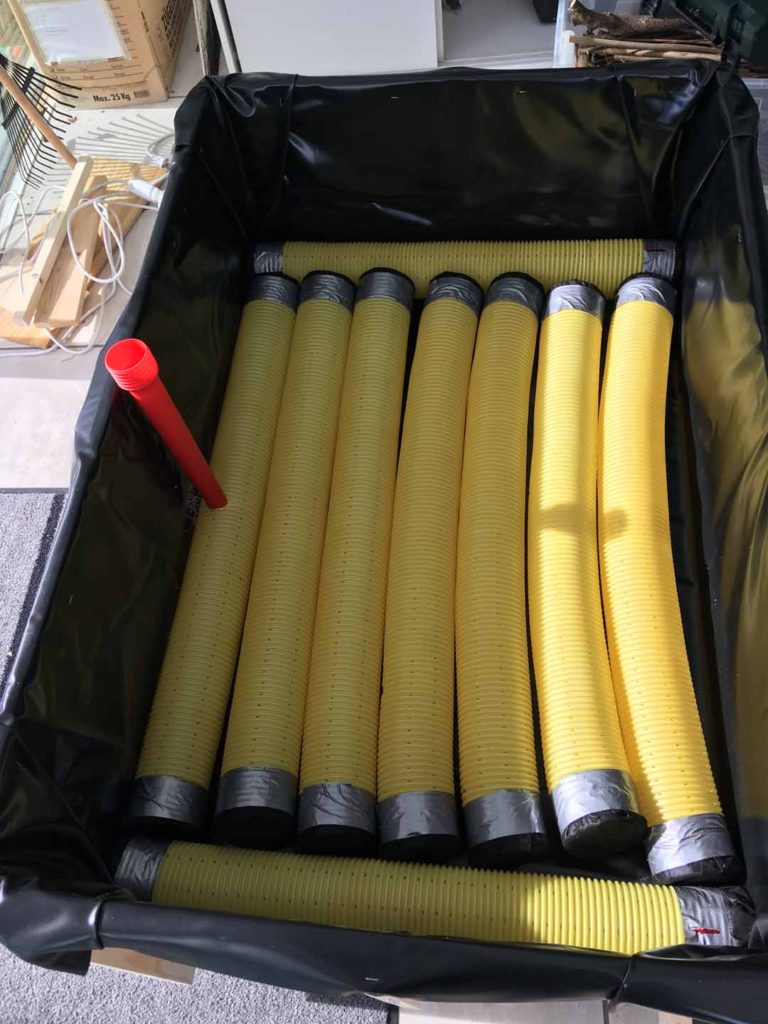
The cupboard backing nailed to the pallet. The girls playing with leftover cupboard backing and corrugated slotted drainage pipe.Jam session on the pallet. Cupboard backing still holding up, although I had to bang a few nails back in. Screwing on the caster wheels early was a life-saver and helped me move the box around much more easily. Here I have clamped a strut in place to pre-drill and then attach with screws. (After taking this picture, I undid the clamp before screwing down the strut…)The view from above, all struts affixed.Here’s where some luck came in: the overflow drainage hole fit nicely between strut and metal pallet frame corner.In goes the pond liner. This process was like making a bed inside-out.I used masking tape to hold down the liner. It was a bit larger than planned, which meant I couldn’t fold it according to AlboPepper’s instructions. You can see I tried to fold a triangle and lay it to one side of the corner, but that only works if the pond liner doesn’t rise above the edge of the planter box. Enter origami! Squish a smaller triangle to either side and the flap folds over the edge at the corner, even keeping the triangles from coming undone. A close-up of the origami solution, stapled down on the outside. Inside close-up. It doesn’t lie fully flat, but close enough. I used “Unkrautvlies” to cover the drainage pipe ends. It’s not terribly strong, but I figure it doesn’t need to be. First pipes are in. It was hard work to get them straightened. After some filing and plastic cutting, the overflow tube is in! It’s rubber tubing from an old shower hose. The marking on the short tube is there so the slit in the fabric lines up with the rubber tube.AlboPepper put the irrigation hole in a corner. I wanted it in the middle because that way it would be least likely to get in the way of the kids, who were going to get a quadrant each. I drilled holes into a plastic IKEA kiddie table leg.Now the hollow leg serves as a water inlet. Luck strikes again: the garden hose is just a touch smaller and will stay in there even with the water on. In goes dirt and mulch and fertilizer and perlite. Ta-da! Later I sawed the corner off the plastic kiddie table so the inlet got a screw top to keep airborne junk and gunk out. No sooner had we planted the seeds that we needed to cover it up with a trash bag. Snow in May? Really?And this is what it looks like mid-June. One advantage of being on wheels is that it’s pretty hard for snails to get in.
All of 2016 is up in the usual place. Well, to be precise, it’s Christmas 2015 to Christmas 2016. Because there are a large amount of photos, displaying them can sometimes be delayed. As usual, e-mail me if you don’t have the sign-in info and want to see the pictures.
More photos are up at the usual place, with the usual credentials. As usual, e-mail me if you don’t have the sign-in info and want to see the pictures.
Because it’s been two years and a half since the last photo post, the selection is less expansive.